Risk
Risks Dashboard
To access your Risks Dashboard, click on Risk in the top bar.
On the Risks Dashboard, you will see your risk matrix with the number of risk assessments completed at each level in the brackets.
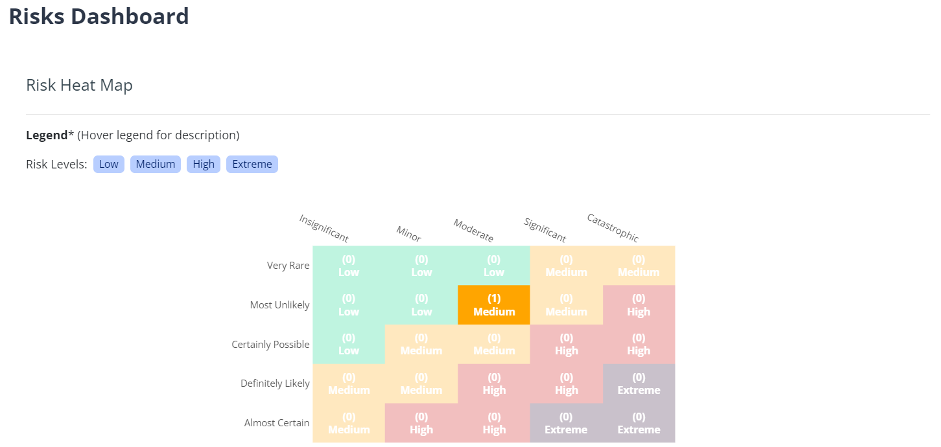
Click on one of the risk levels will take you to the bottom of the page where the Risks section is and filter for the selected risk level.
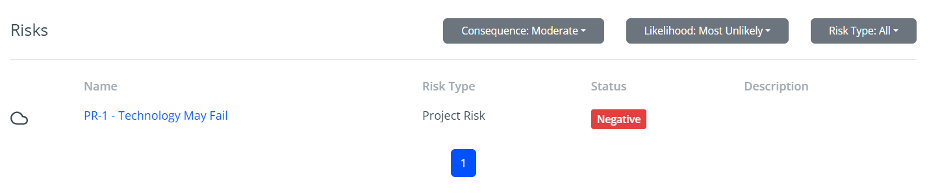
Clicking on the name will open the risk where you can edit, see actions associated with the risk (such as Risk Assessments), and see and add controls.
Adding a Risk
To add a risk, scroll down to Important Risks on the Risks Dashboard. To the right of the heading, click on Create New Risk and select the type of risk from the drop-down menu.

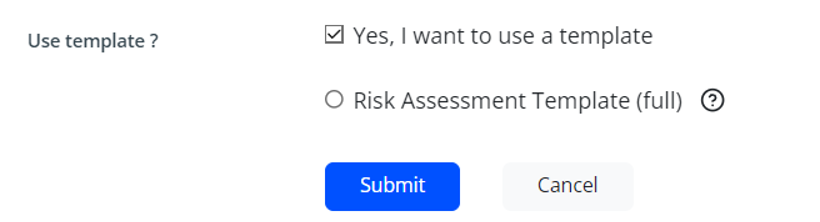
If you would like to complete a Risk Assessment for this new risk now, near the bottom, tick the box that says "Yes, I want to use a template" and select the Risk Assessment template you'd like to use.
The Risk Assessment (full) template is in your system by default, but you can create your own Risk Assessment templates in Template Management.
The date you choose as the Template Action Date will determine the due date of the Risk Assessment, calculated from the default task window for Risk Assessments in your system. This will create a task that recurs annually. You can edit the action later to change the recurrence of the task and customise it more.
Click Submit to save.
Completing a Risk Assessment
To complete a Risk Assessment, open the risk you want to complete the Risk Assessment for, and scroll down to Actions.
You can either click on the name of the Risk Assessment if there is an existing one with the a task due, or click New Action and select Risk Assessment from the drop-down menu to create a new one.

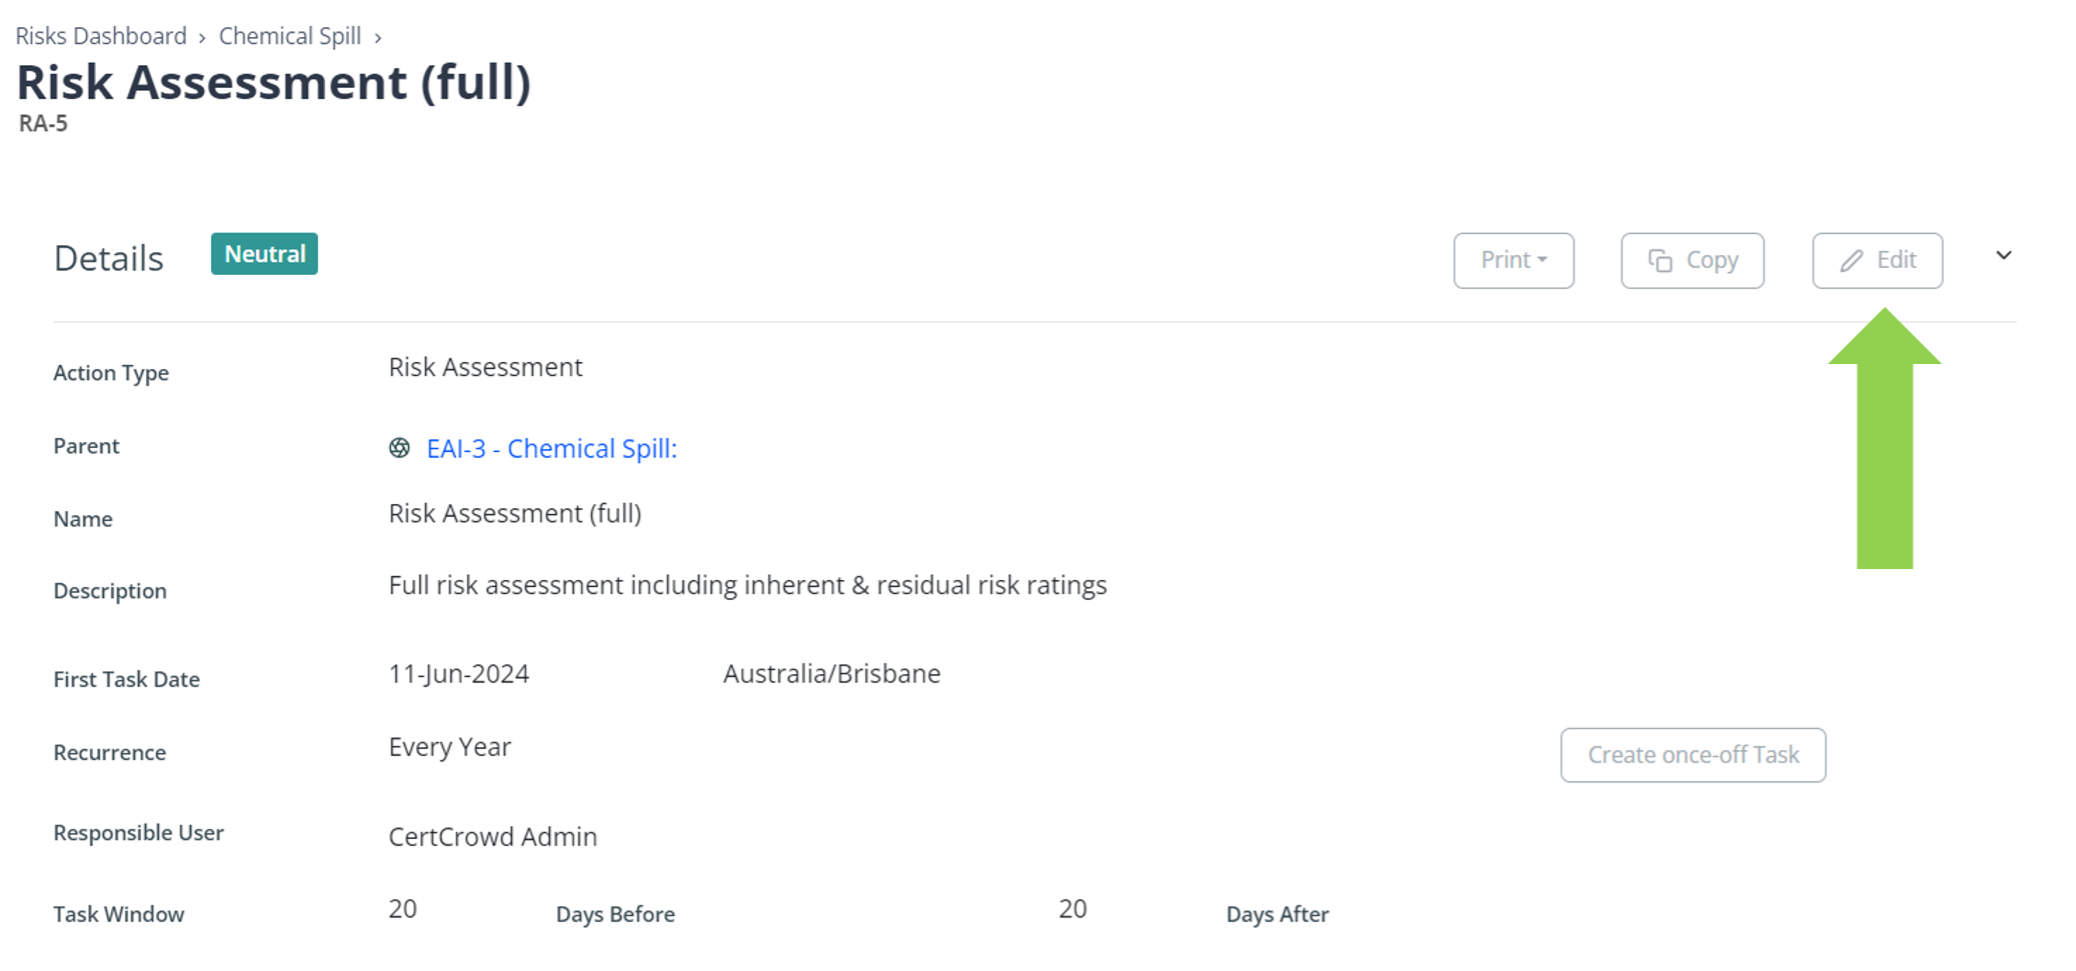
On the Action page, you can edit the details for the Risk Assessment by clicking Edit at the top of the page. Here, you can change the name, description, recurrence, task dates, responsible user, and the task window.
Once you are done, click Submit to save.
Once you have opened the action, scroll down to the Tasks and click on the earliest task.
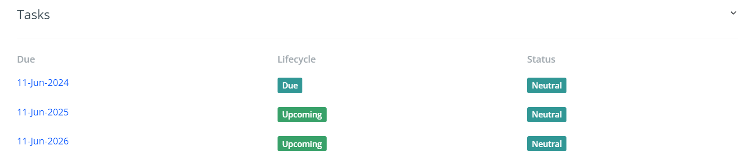
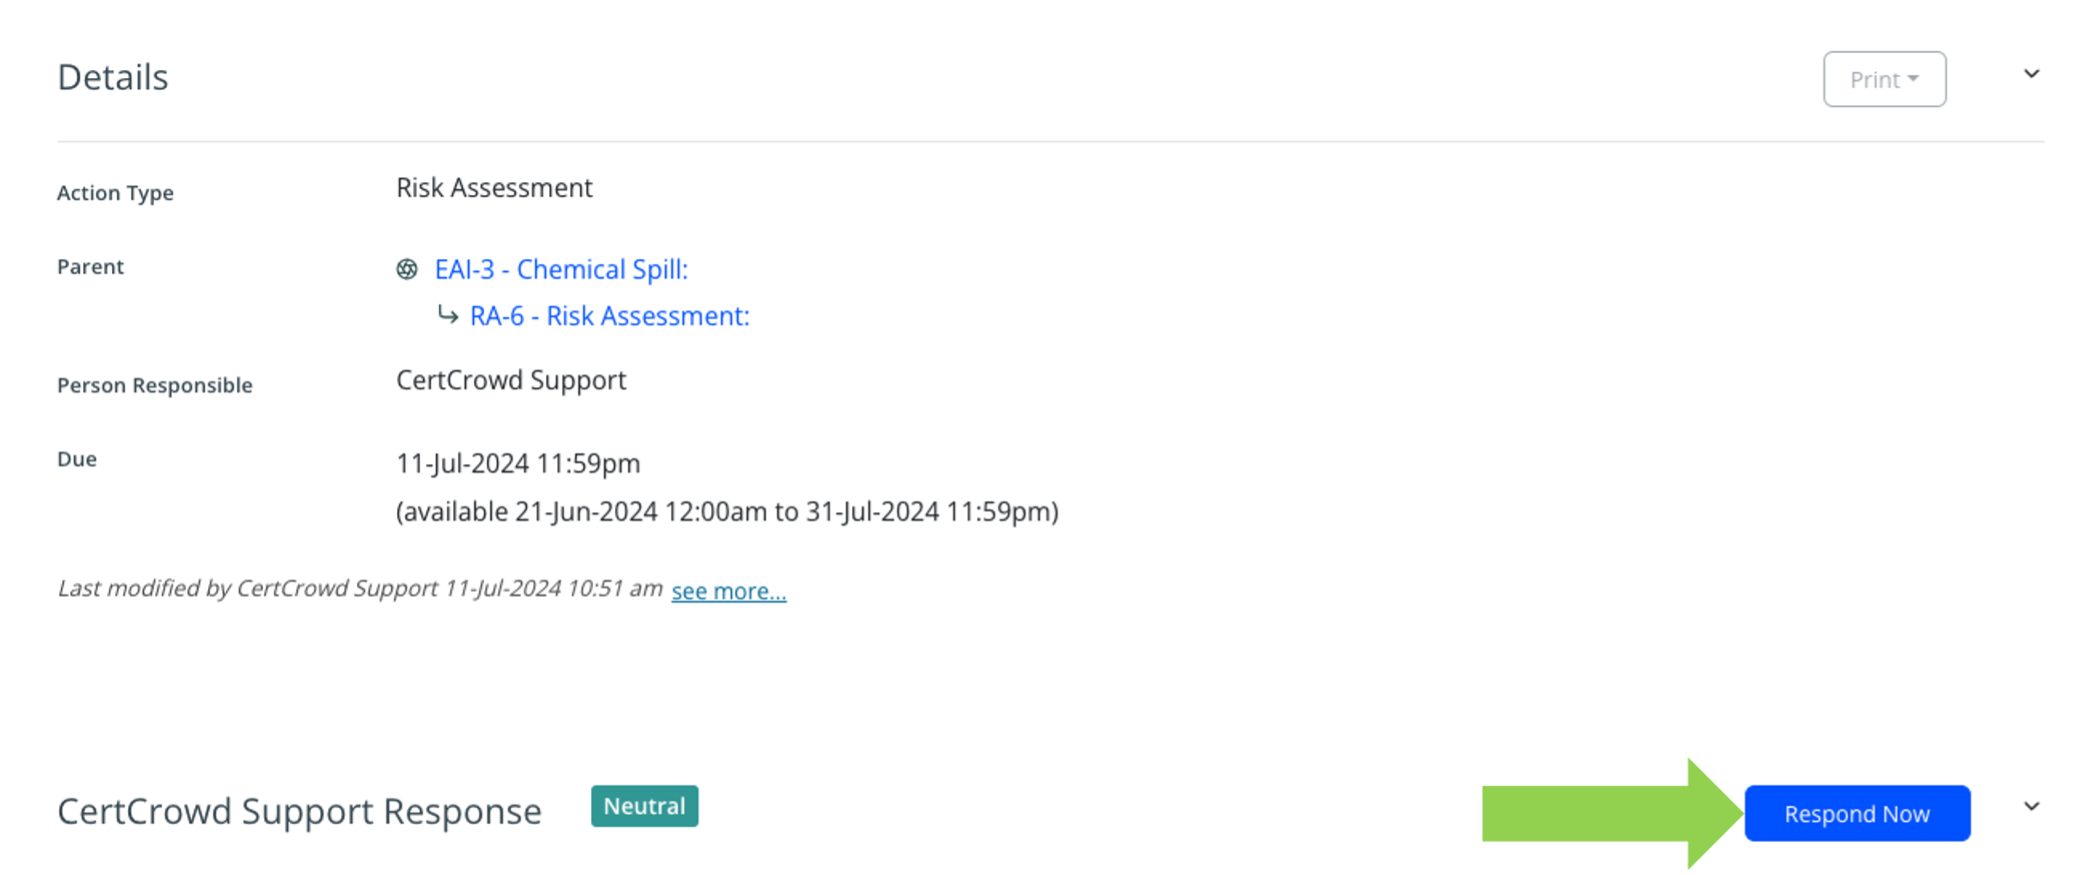
Click on Respond Now to begin the Risk Assessment.
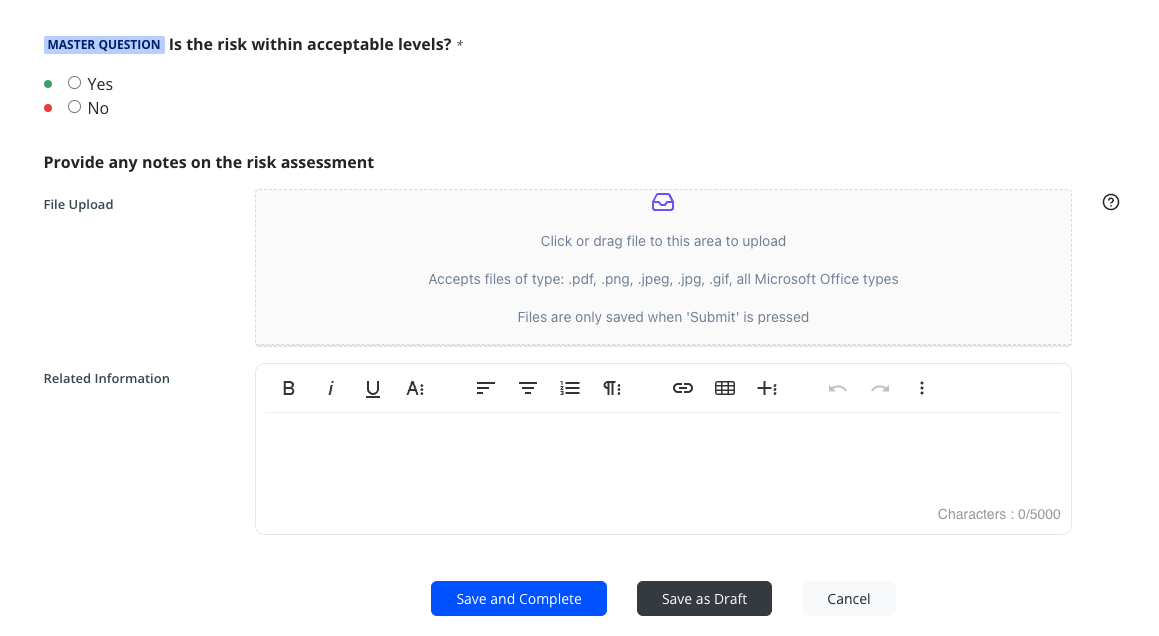
Selecting the Likelihood and Consequence of the risk will highlight the corresponding square on the Risk Matrix.
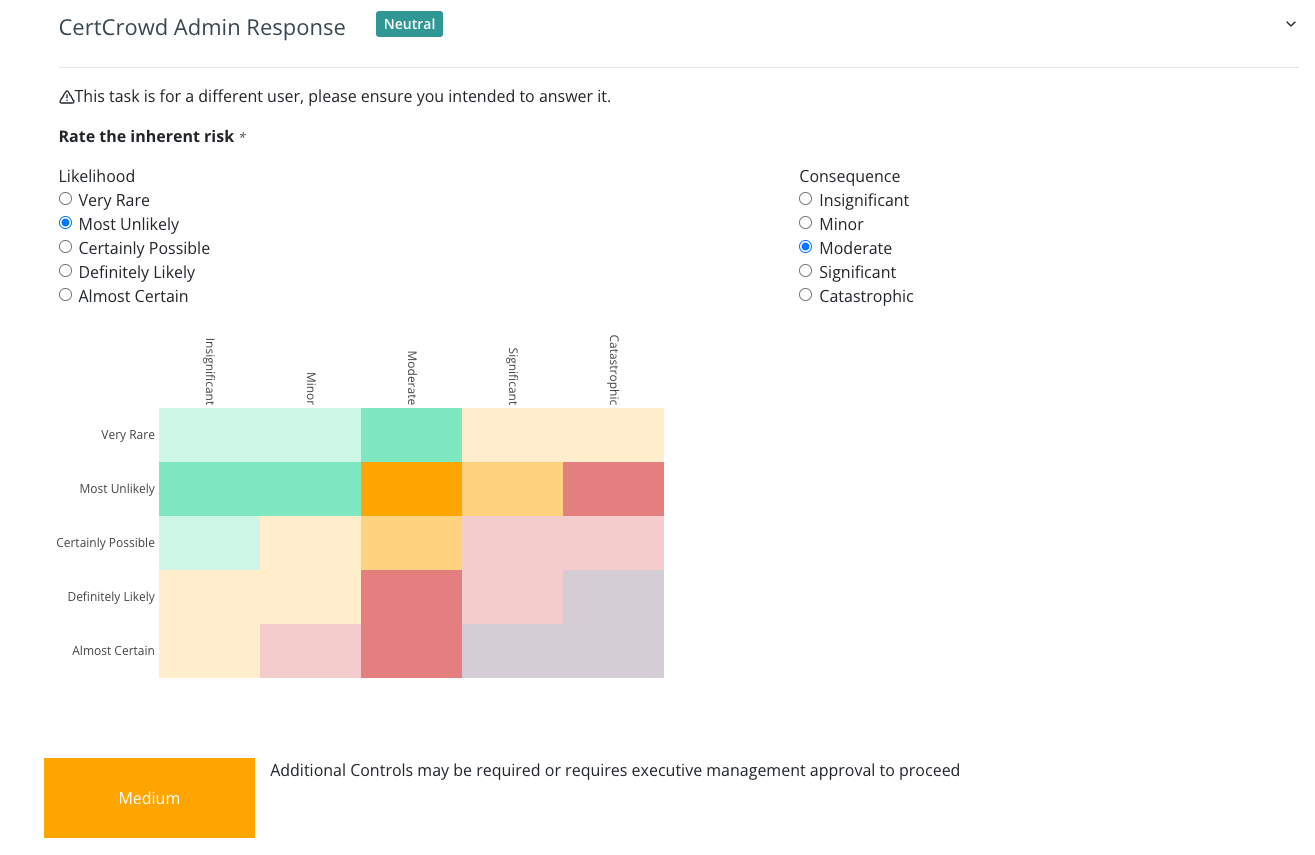
Proceed to add Controls from the Hierarchy of Controls and organisational controls relevant to the risk.
Similar to the Inherent Risk, selecting the Likelihood and Consequence of the Residual Risk will highlight the square on the Risk Matrix.
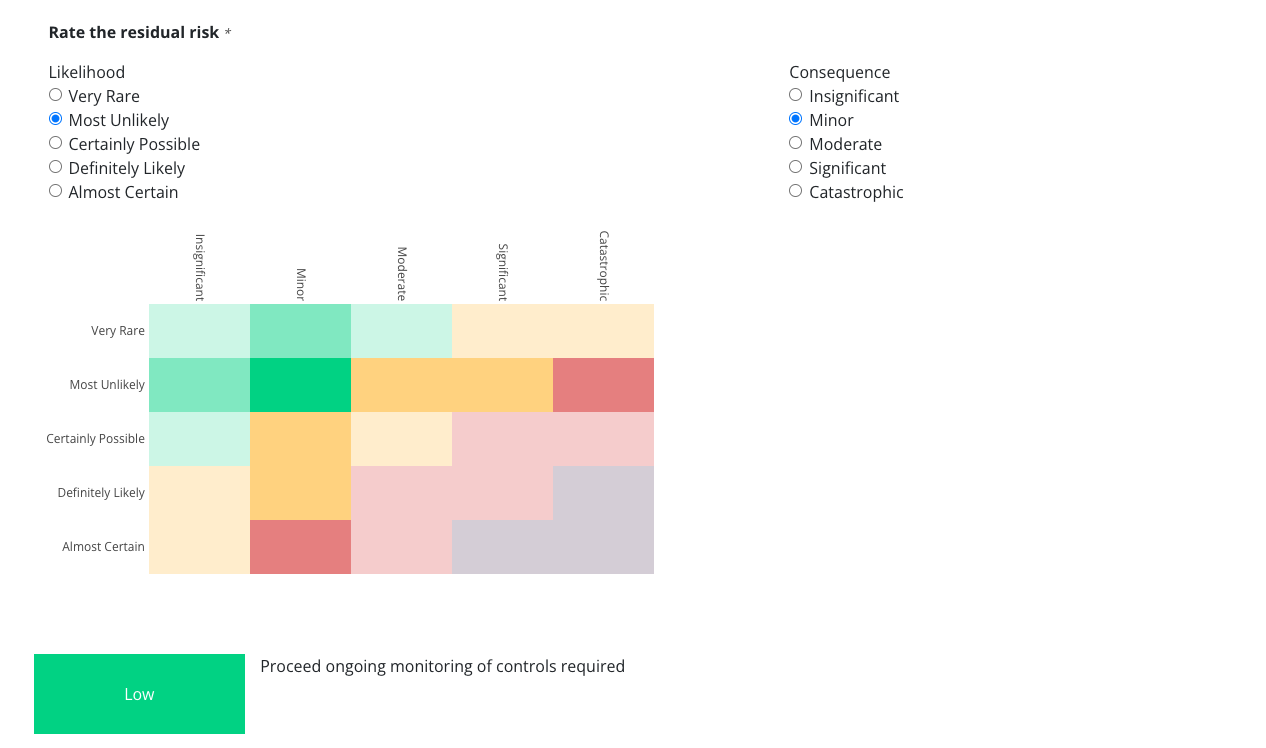
Finally, determine whether the Residual Risk is now within your organisation's acceptable levels and click Save and Complete to submit your Risk Assessment.
Controls
Creating a Control
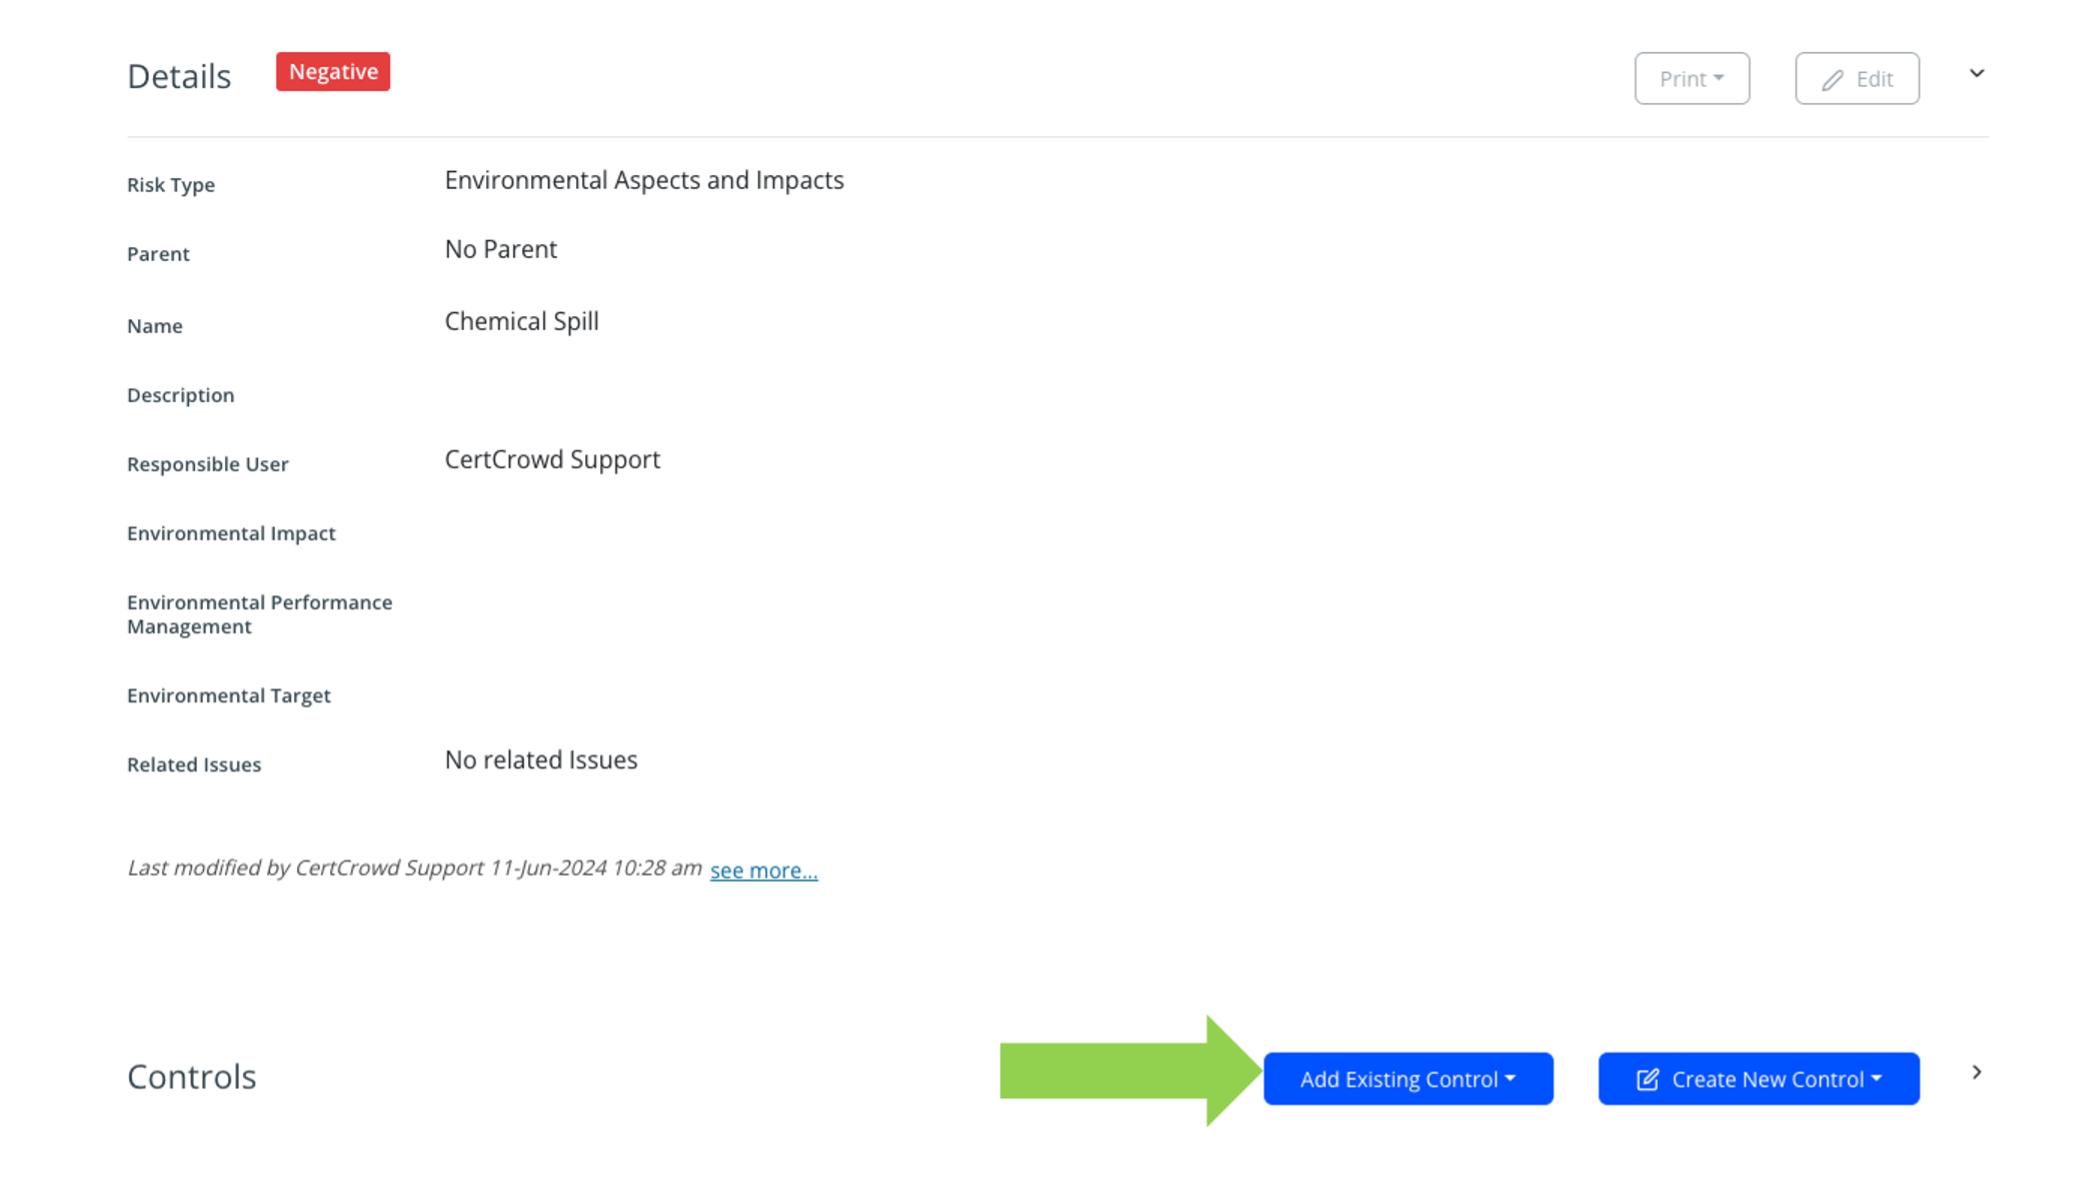
Controls live near the bottom of each risk.
To add a control that already exists in the system, click Add Existing Control and select from the drop-down menu.
To create a new control, click Create New Control and fill out the details.
When creating a new control, you can also add actions to review the control using the Control Review template under Use a Template
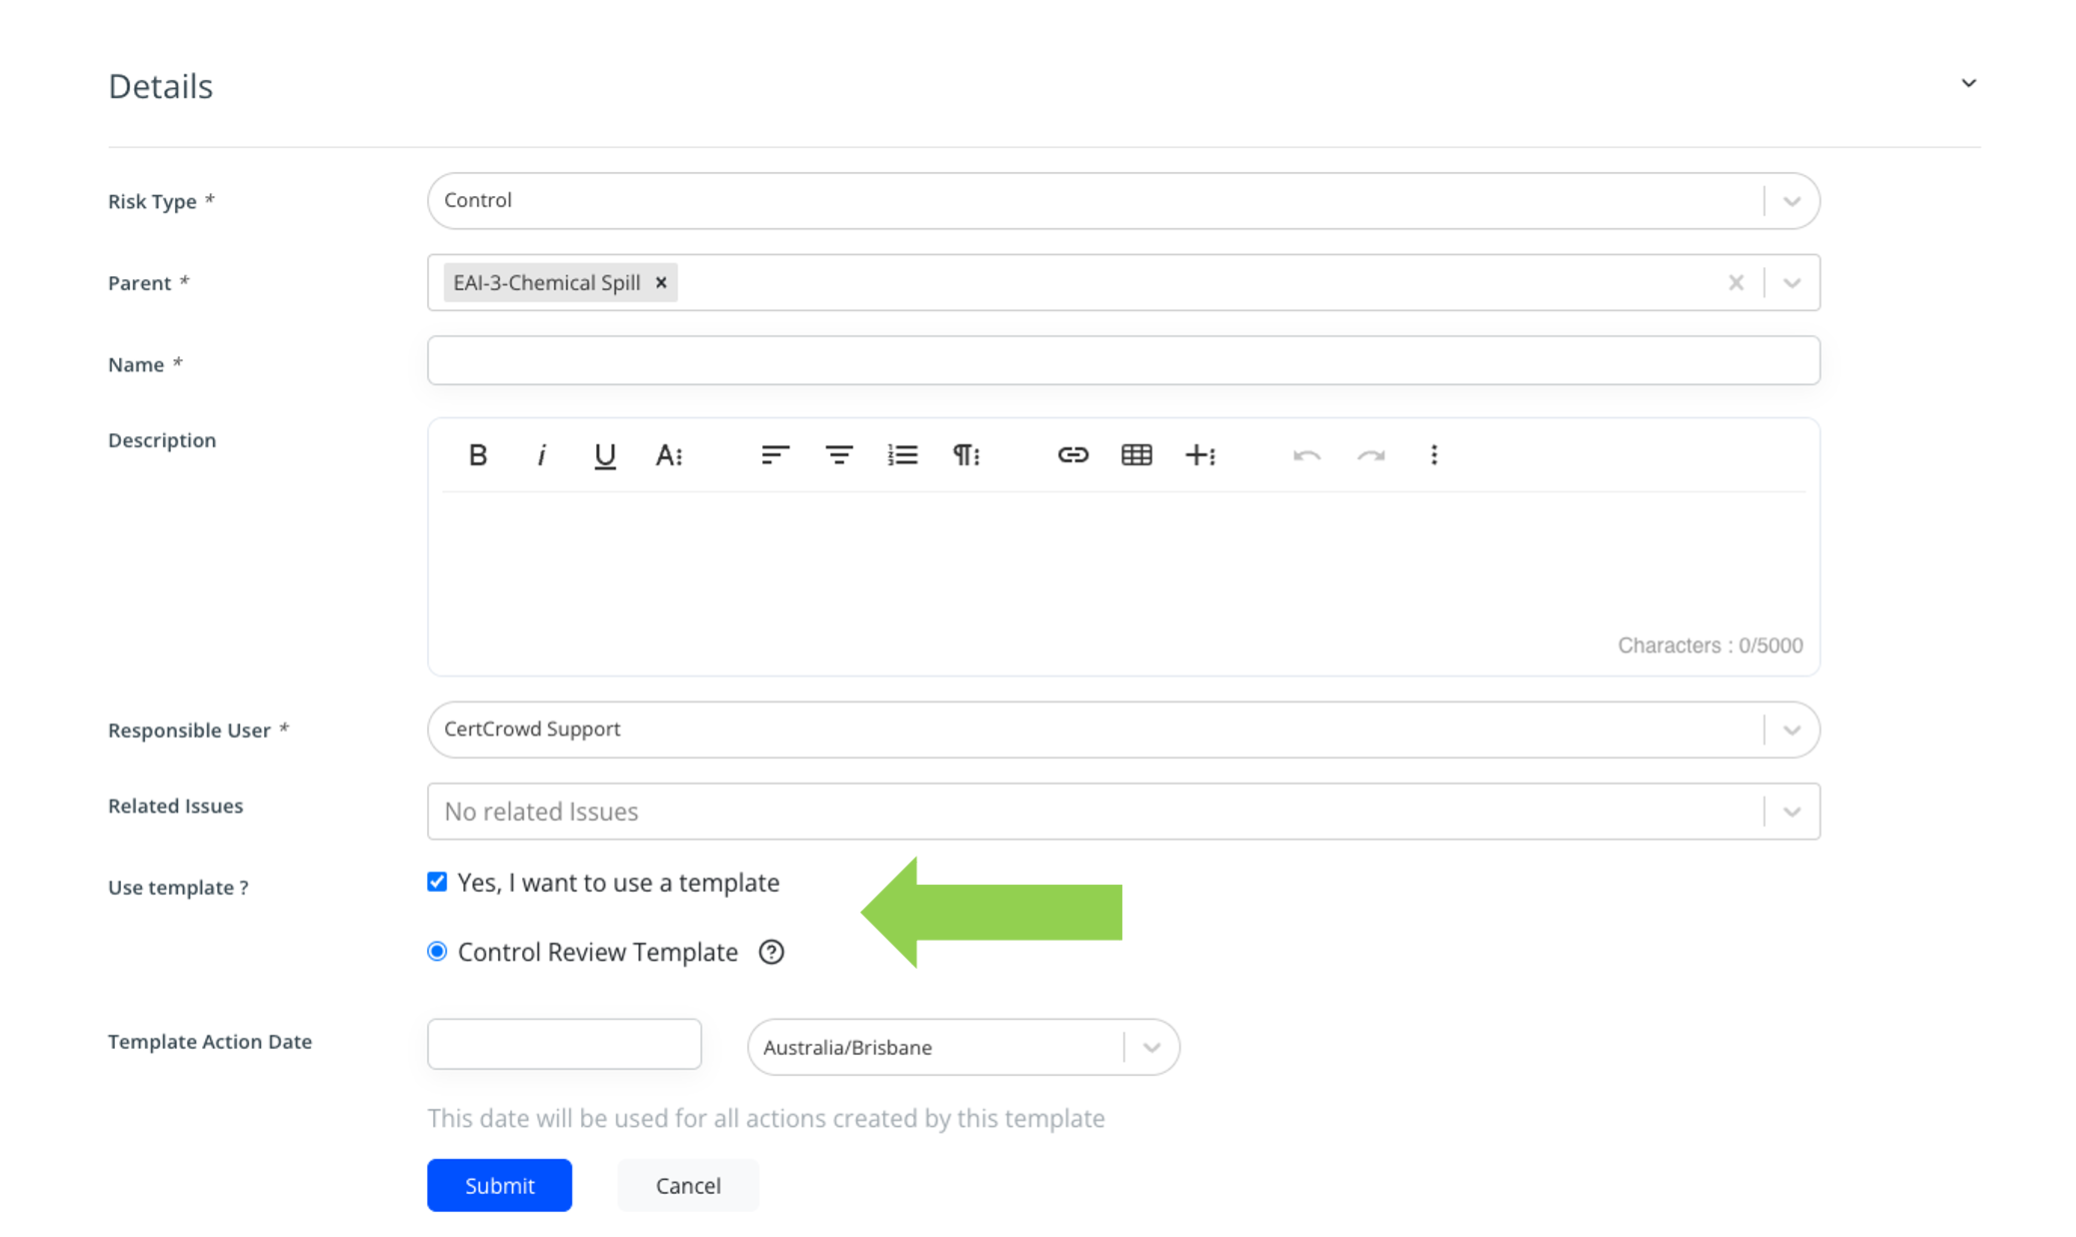
Click Submit to save.
How do I see the Controls in my system?
You can see all of the controls in the system by creating a Report.
On the Report Dashboard, click Create New Report and select Risk Report from the drop-down menu.
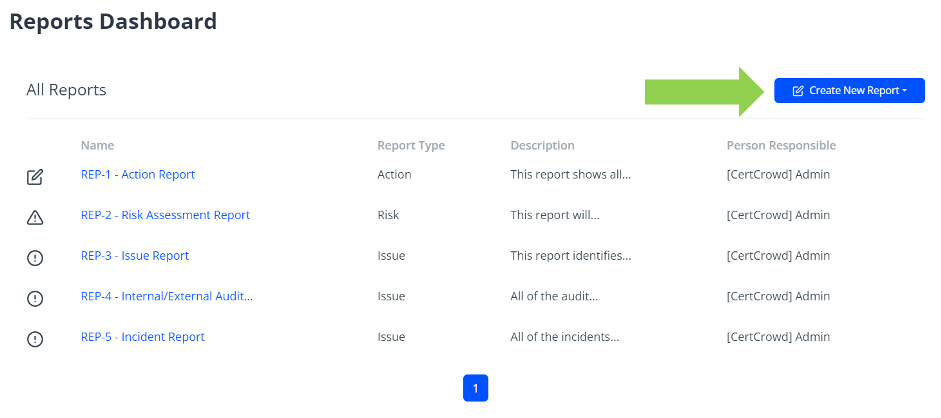
Under Settings & Filters, add the columns you want to add, and add a filter for Risk: ID contains CON.
CON is the ID for all Controls in CertCrowd
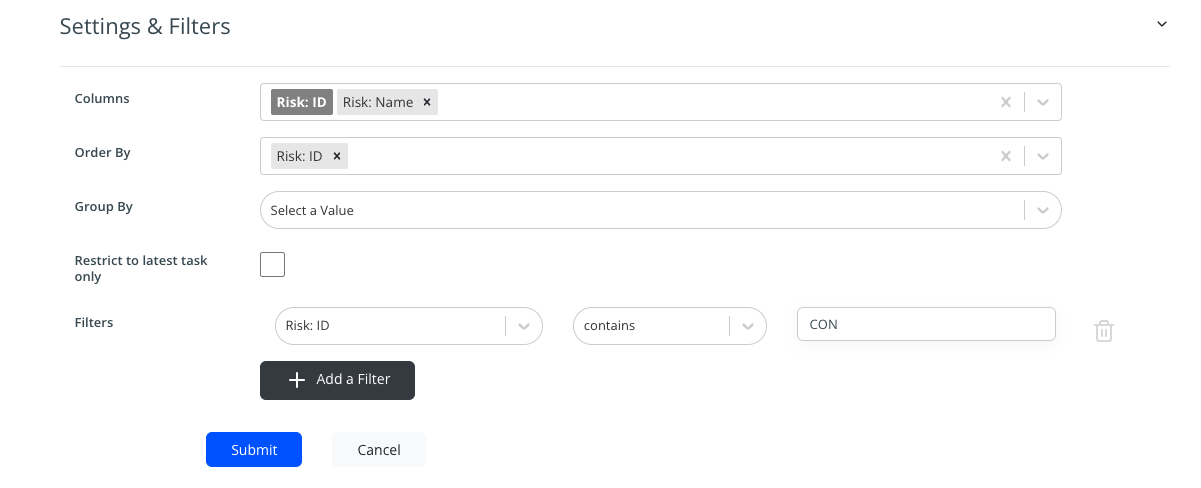
Click Submit to save.
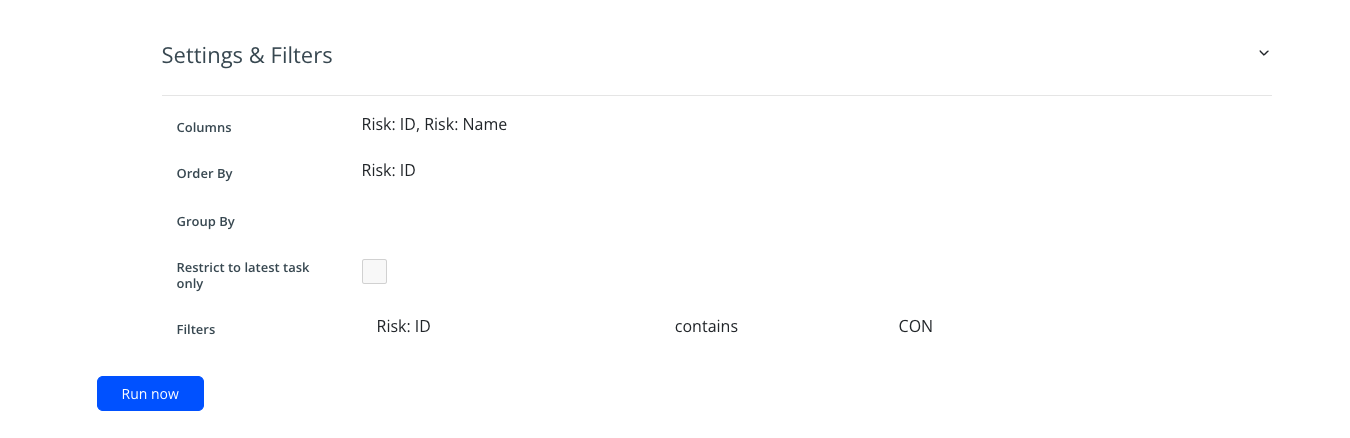
Click Run Now to run the report.